


Sourdough Bread + Tomato ( Pan con Tomate )
and a little insight to sourdough

One of the things I enjoyed in my trip last year was all the amazingly fresh bread and the freshness of the produce - and what kinda series would this be without some fresh bread and a tomato olive oil dipping accompaniment !


Like all good sourdough bread the star of the show is a nice and active starter to make the levain. Which is fed 3 times over the first 2 days before the final mix to make the dough. Then has 3 sets of folds before proofing over night and baking in the morning - and let me just say it may be a lot of work but nothing beats fresh bread.
What is a starter ? How do I maintain my starter ? How is a starter different than a levain ?
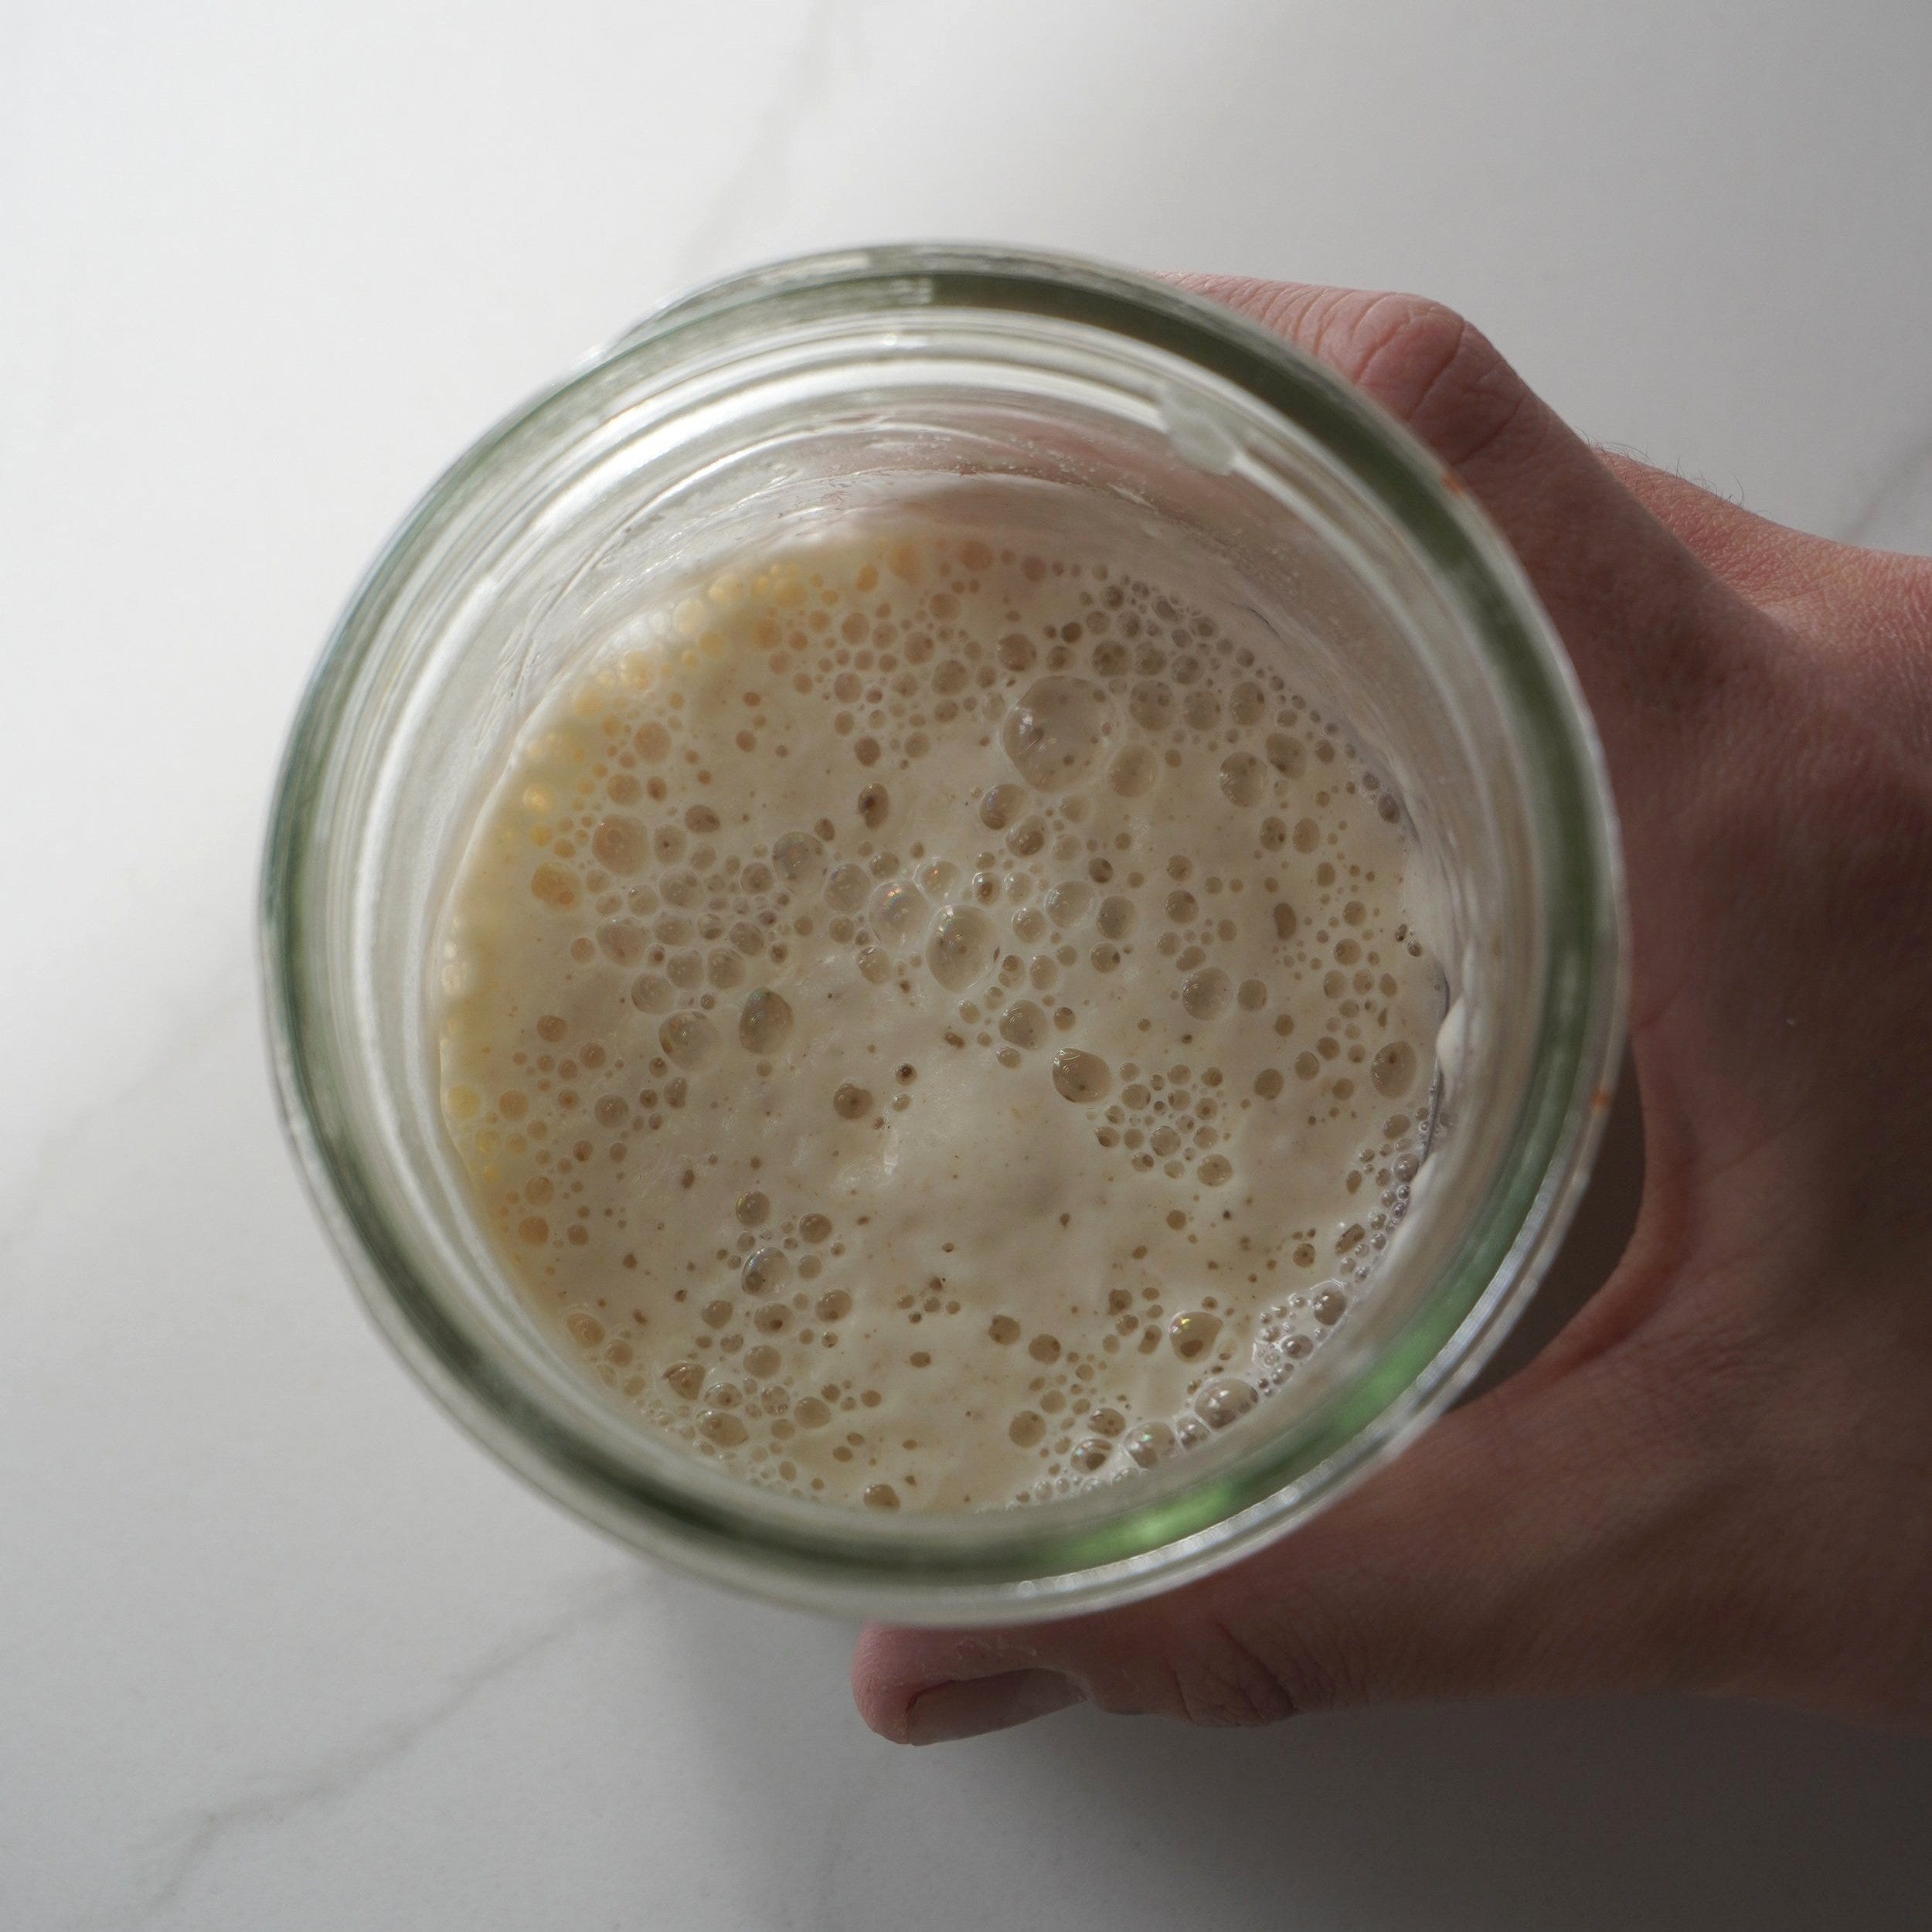
The starter is what is alive, its the natural yeast fermentation that is what helps the bread rise and also give that sour flavor in sourdough bread and its also what makes it a bit healthier for us. People have many different ways they go about feeding and taking care of their starter. Some prefer storing it in the fridge and some strongly advise keeping it on the counter for as much as one can, maybe putting it in the fridge if one is going out of town for the week.
All in all, it is best to keep it on the counter and “feed” it daily to keep it happy, healthy and ready to make good bread. If you want to learn more in depth detail about bread making I recommend the book Flour, Water, Salt, Yeast by Ken Forkish. If you keep it out on the counter this will help have a very authentic tasting sourdough bread and will require a daily feeding.
When doing a daily feeding most of the starter will be thrown away or discarded which is literally called the discard - there are recipes for using the discard if one doesn’t want to waste so much of it. If you fed the starter at night, 8 - 12 hours later in the morning it will be bubbling, active and ready to make bread. If you didn’t bake a bread by the end of the day the starter will need more fresh flour, a feeding to keep it alive. There are different formulas for feeding starters like the 1:2:2, 1:3:3, 1:4:4 and so on which basically stands for 20 grams starter, 40 grams flour and 40 grams water and so on. Because my stater is a bit more mature I have been following the 20:40:40 feeding using filtered water that is 85 degrees Fahrenheit. It is also a good practice to get in the habit of feeding your starter at the same time each day and once you get the hang of it, it really takes just 5 minutes.
I am going to try to explain this very simply because for far too long I was confused as to what made the starter different than the levain.
In short, the levain and starter are essentially the same thing but stay with me. So - upon looking at a bread recipe one will notice that the recipe will call for lets say 100 grams of “starter” or “levain” it is a tad confusing as these two words are used sort of interchangeably. If you have a starter that you have been feeding when it becomes active it will typically be around 100 grams. So if you were to use that “starter” in the recipe - you wouldn’t have anymore for future recipes - this is where the need for making a levain comes in. The starter is simply the origin of the levain that we are sort of multiplying to have enough for the future and for the bread we want to make now.
Now if we want to bake bread and make a levain this is the run down. Assuming we have 100 grams of “active” starter since it was fed last night - instead of throwing out the typical 80 grams we are going to transfer 20 grams of that active starter into a glass food -safe container to build the levain. Now in the original starter container, discard most of whats left and leave 20 grams to rebuild the starter and then set that to the side - this is whats going to be fed lets say 40 grams flour and 40 grams water because of the 20 grams of starter. Give it all a good mix, pop on the lid, leave it in your warm place and leave it alone.
Now its time to work on building up that levain, bring your attention back to the container that has the 20 grams of active starter - this is now what one uses to build the levain and now we are ready to start making bread ! For this recipe I fed the levain 3 times before the final mixing of the dough.
What you will need:
Dutch Oven
Proofing Bucket
Electric Scale
Sheet Tray
A Sourdough “Starter”
Knife For Scoring The Bread
Cheese Grater
White Flour “Warm Spot” Levain + Bread Recipe
yields 1 loaf / prep time is about 3 days / bake time 50 minutes
Ingredients - Bread
Sourdough “Starter”
All-Purpose Flour
Water
Salt
Day 1 - Has 2 Feedings
1st feeding - 11am
25g - levain
125g - all purpose flour
87g - filtered water 85 degrees Fahrenheit
2nd feeding - 8pm
25g - levain
125g - all purpose flour
87g - filtered water 85 degrees Fahrenheit
Day 2 Has 1 feeding + Mixing Stage + Shaping Stage
3rd feeding - 11am
50g levain
250g - all purpose flour
175g - filtered water 85 degrees Fahrenheit
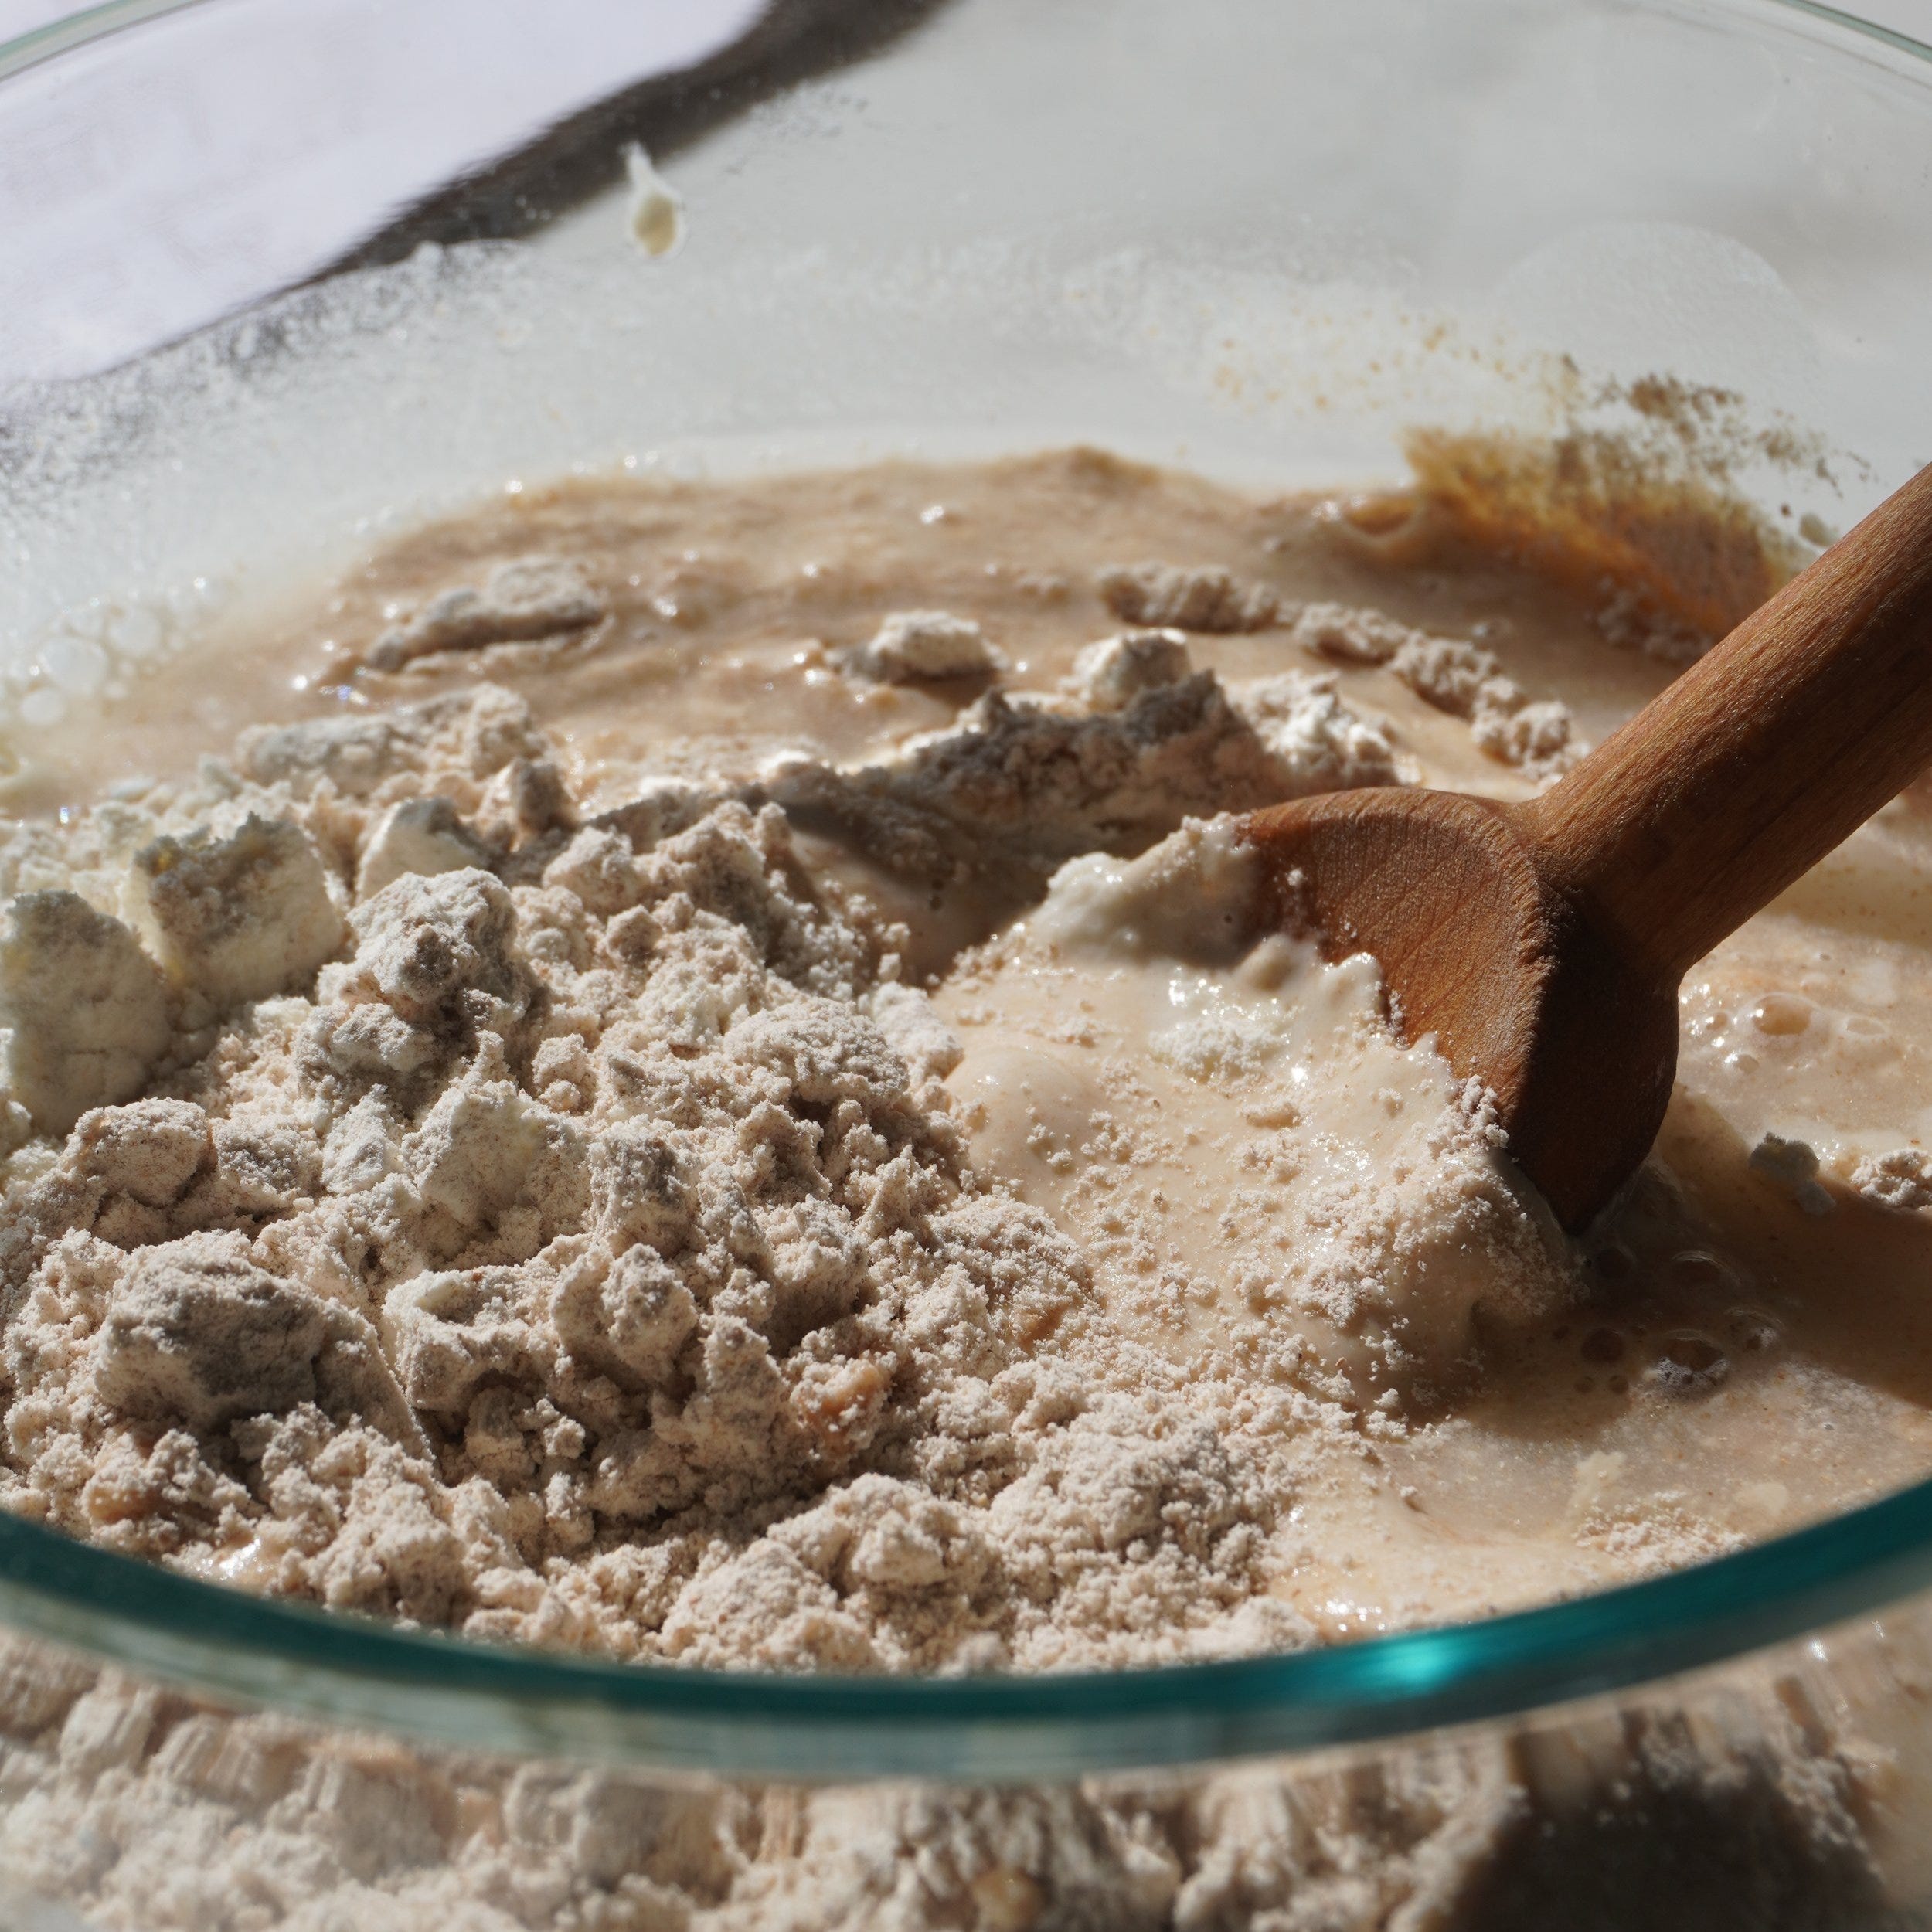
Final Mix - 4 pm
375g - all purpose flour
305g - filtered water 85 degrees Fahrenheit
10g - salt
215g - levain
(Mix with a wet hand and cover with a lid)
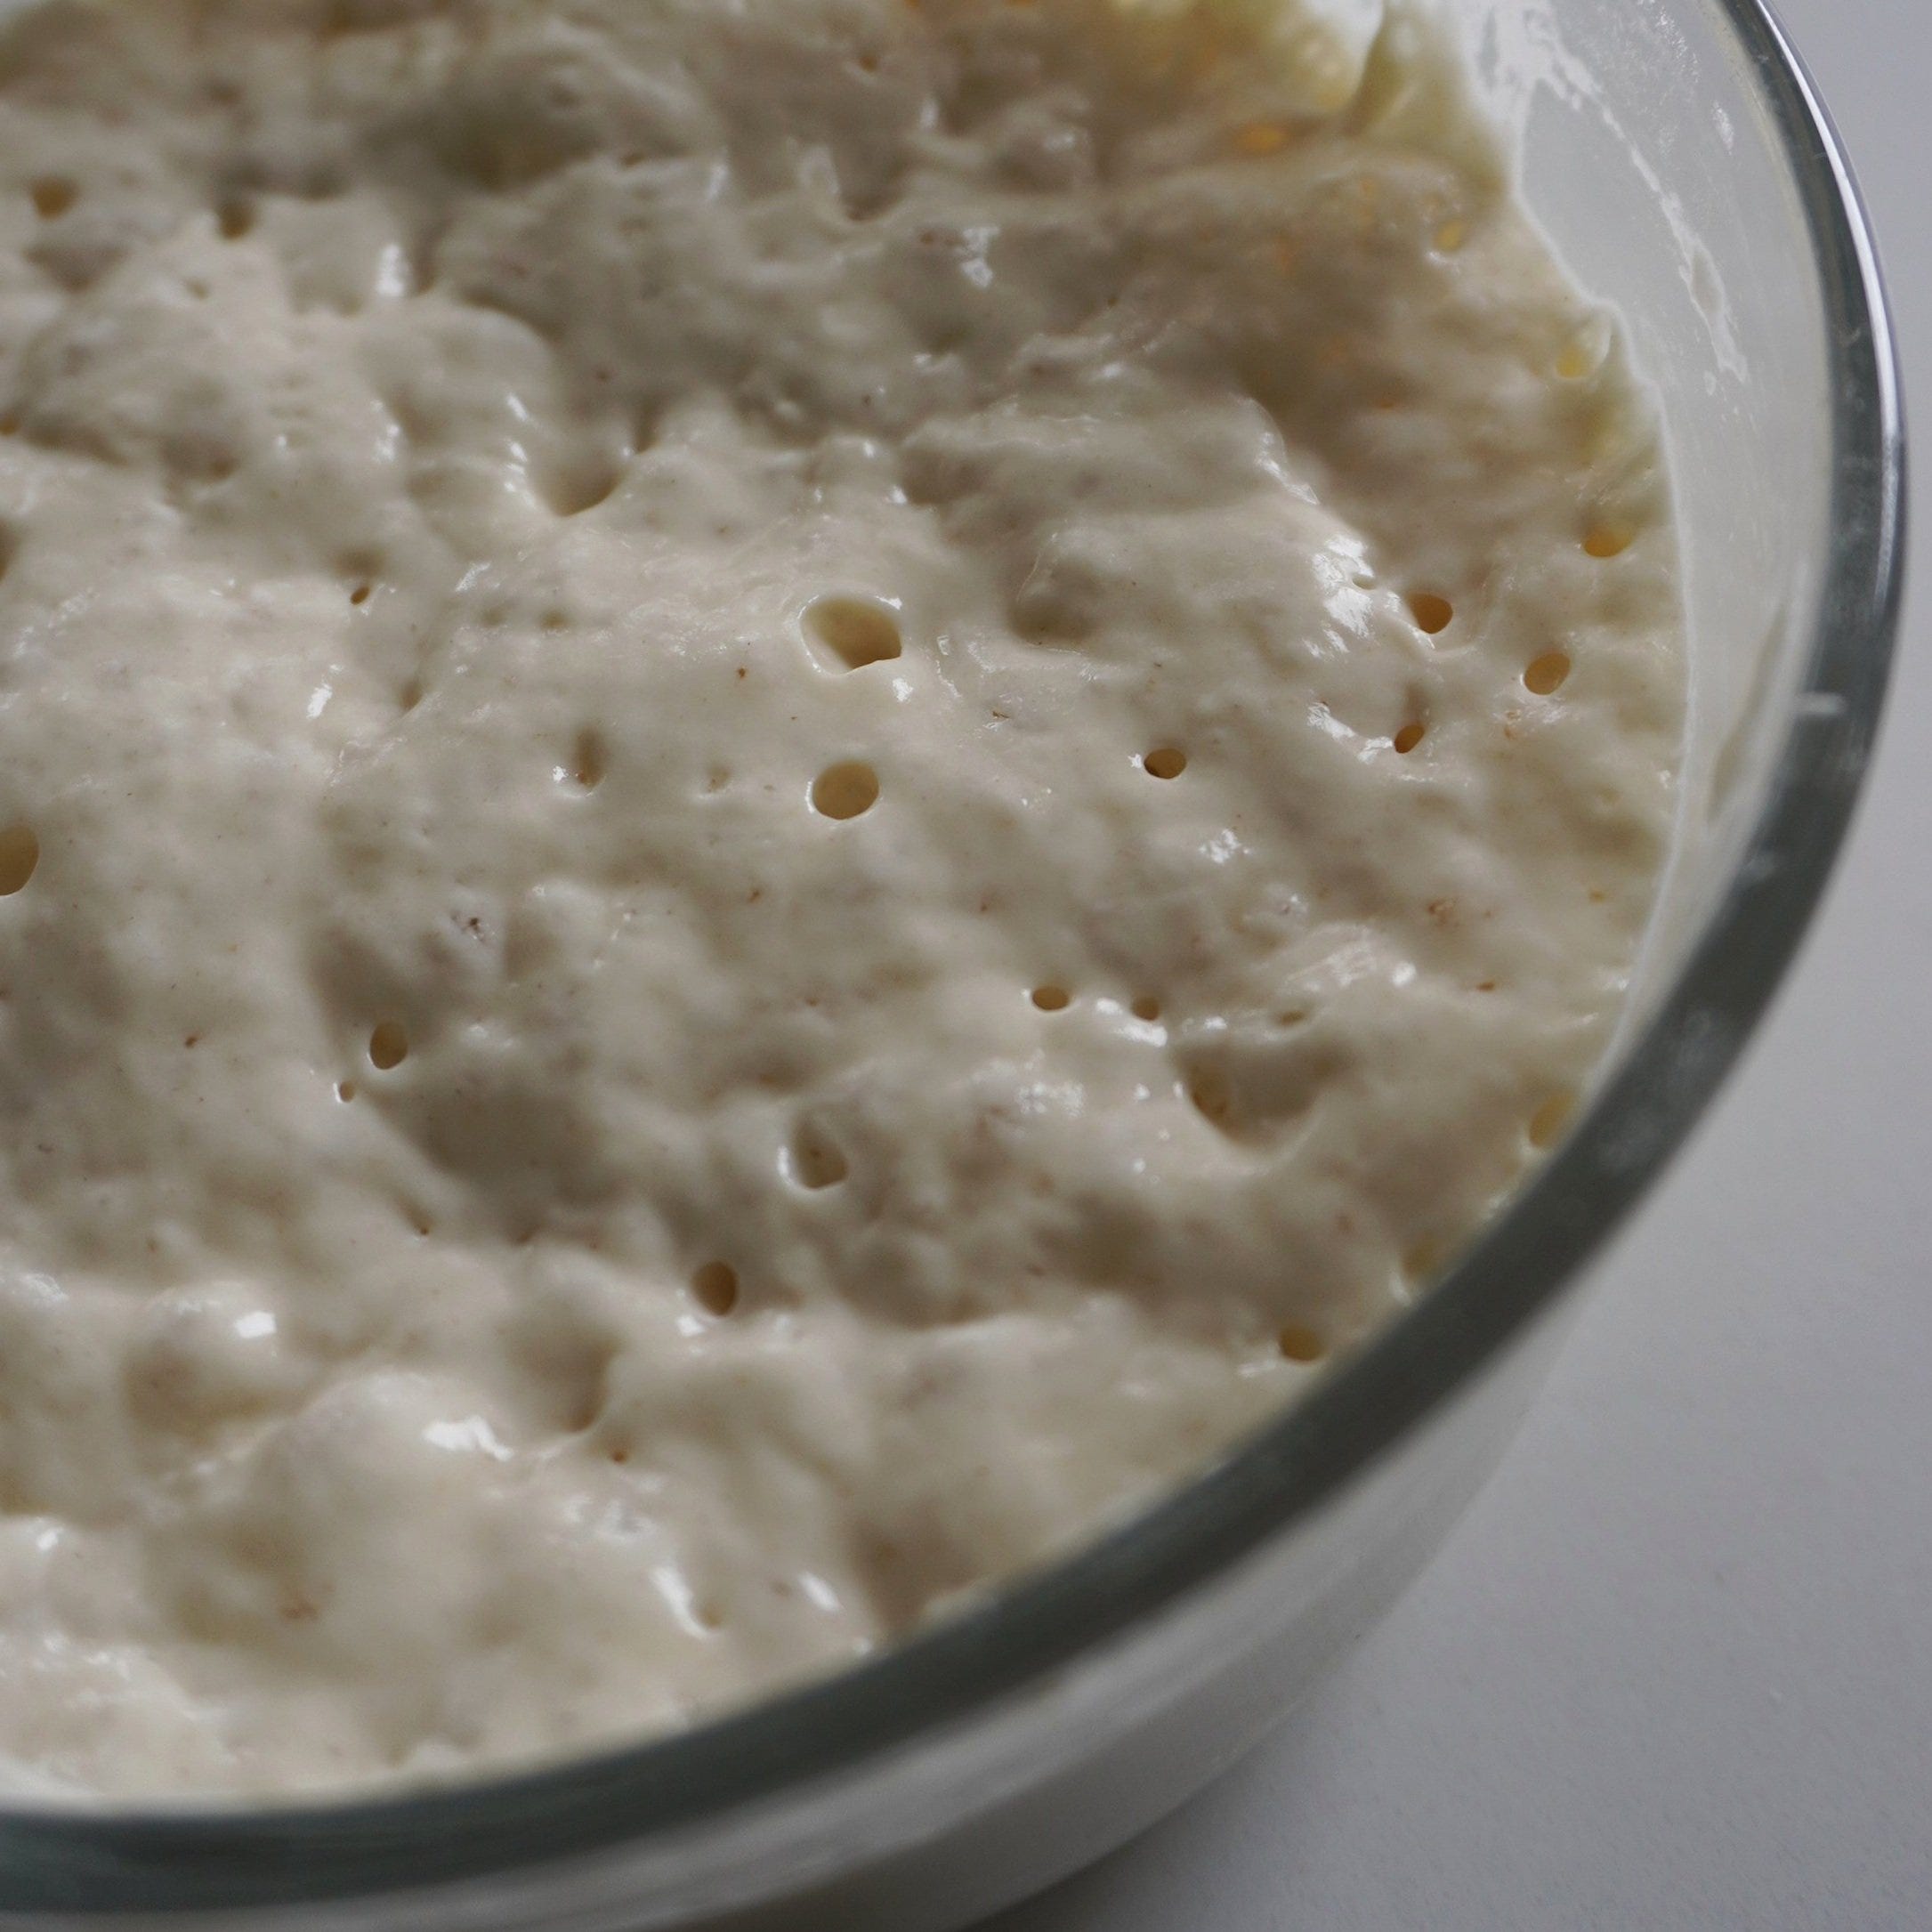
First Fold - 4:30 pm
Second Fold - 4:50 pm
Third Fold - 5:15 pm
(Doing the 3 sets of “folds” within the first hour and a half after the mixing stage - see video for visual demonstration)
Shaping Stage - 8pm
With a wet hand fold the dough a couple times pulling one side of the dough to the other - at this step we want the bread to reach a temperature of 75 degrees Fahrenheit which you can check by folding the dough over a thermometer - do not stick the dough with it though like a piece of meat because that is wrong.
Round out the dough with 2 hands, tucking the dough underneath the dough ball before lifting it up and onto a parchment lined sheet tray. Let it hang out on the counter for 30 minutes, sprinkle some all purpose flour over it and cover it with a kitchen towel and let this proof over night in the fridge.
Baking Time - 9am

No need to let the dough reach room temp. before baking. Simply pre-heat the oven to 475 degrees Fahrenheit and place the dutch oven inside to also heat up for 30 minutes before putting the dough inside and baking it. The heat and steam from within dutch oven is what is going to help give the bread that good crust.
Before plopping the bread into the dutch oven is a good moment to score the dough which helps the steam escape - otherwise the loaf will come out oddly shaped. This also makes the bread really pretty too. For round boule style breads I like to do a simple plus sign cut.
When the oven and Dutch oven is ready you can pick up the dough by picking up the corners of the parchment paper and plopping it into the Dutch oven. Bake for 30 minutes with the lid on and then 20 minutes with the lid off. When the bread is done, let it cool for 20 minutes before cutting into as the bread is still carry over cooking and settling internally.
Ingredients - Tomato Dip
3/4 cup - grated tomato ( 1 tomato )
1/4 cup - olive oil ( a good quality one ! )
salt + pepper to taste
Making the tomato dip
Step 1 - Grate the tomato
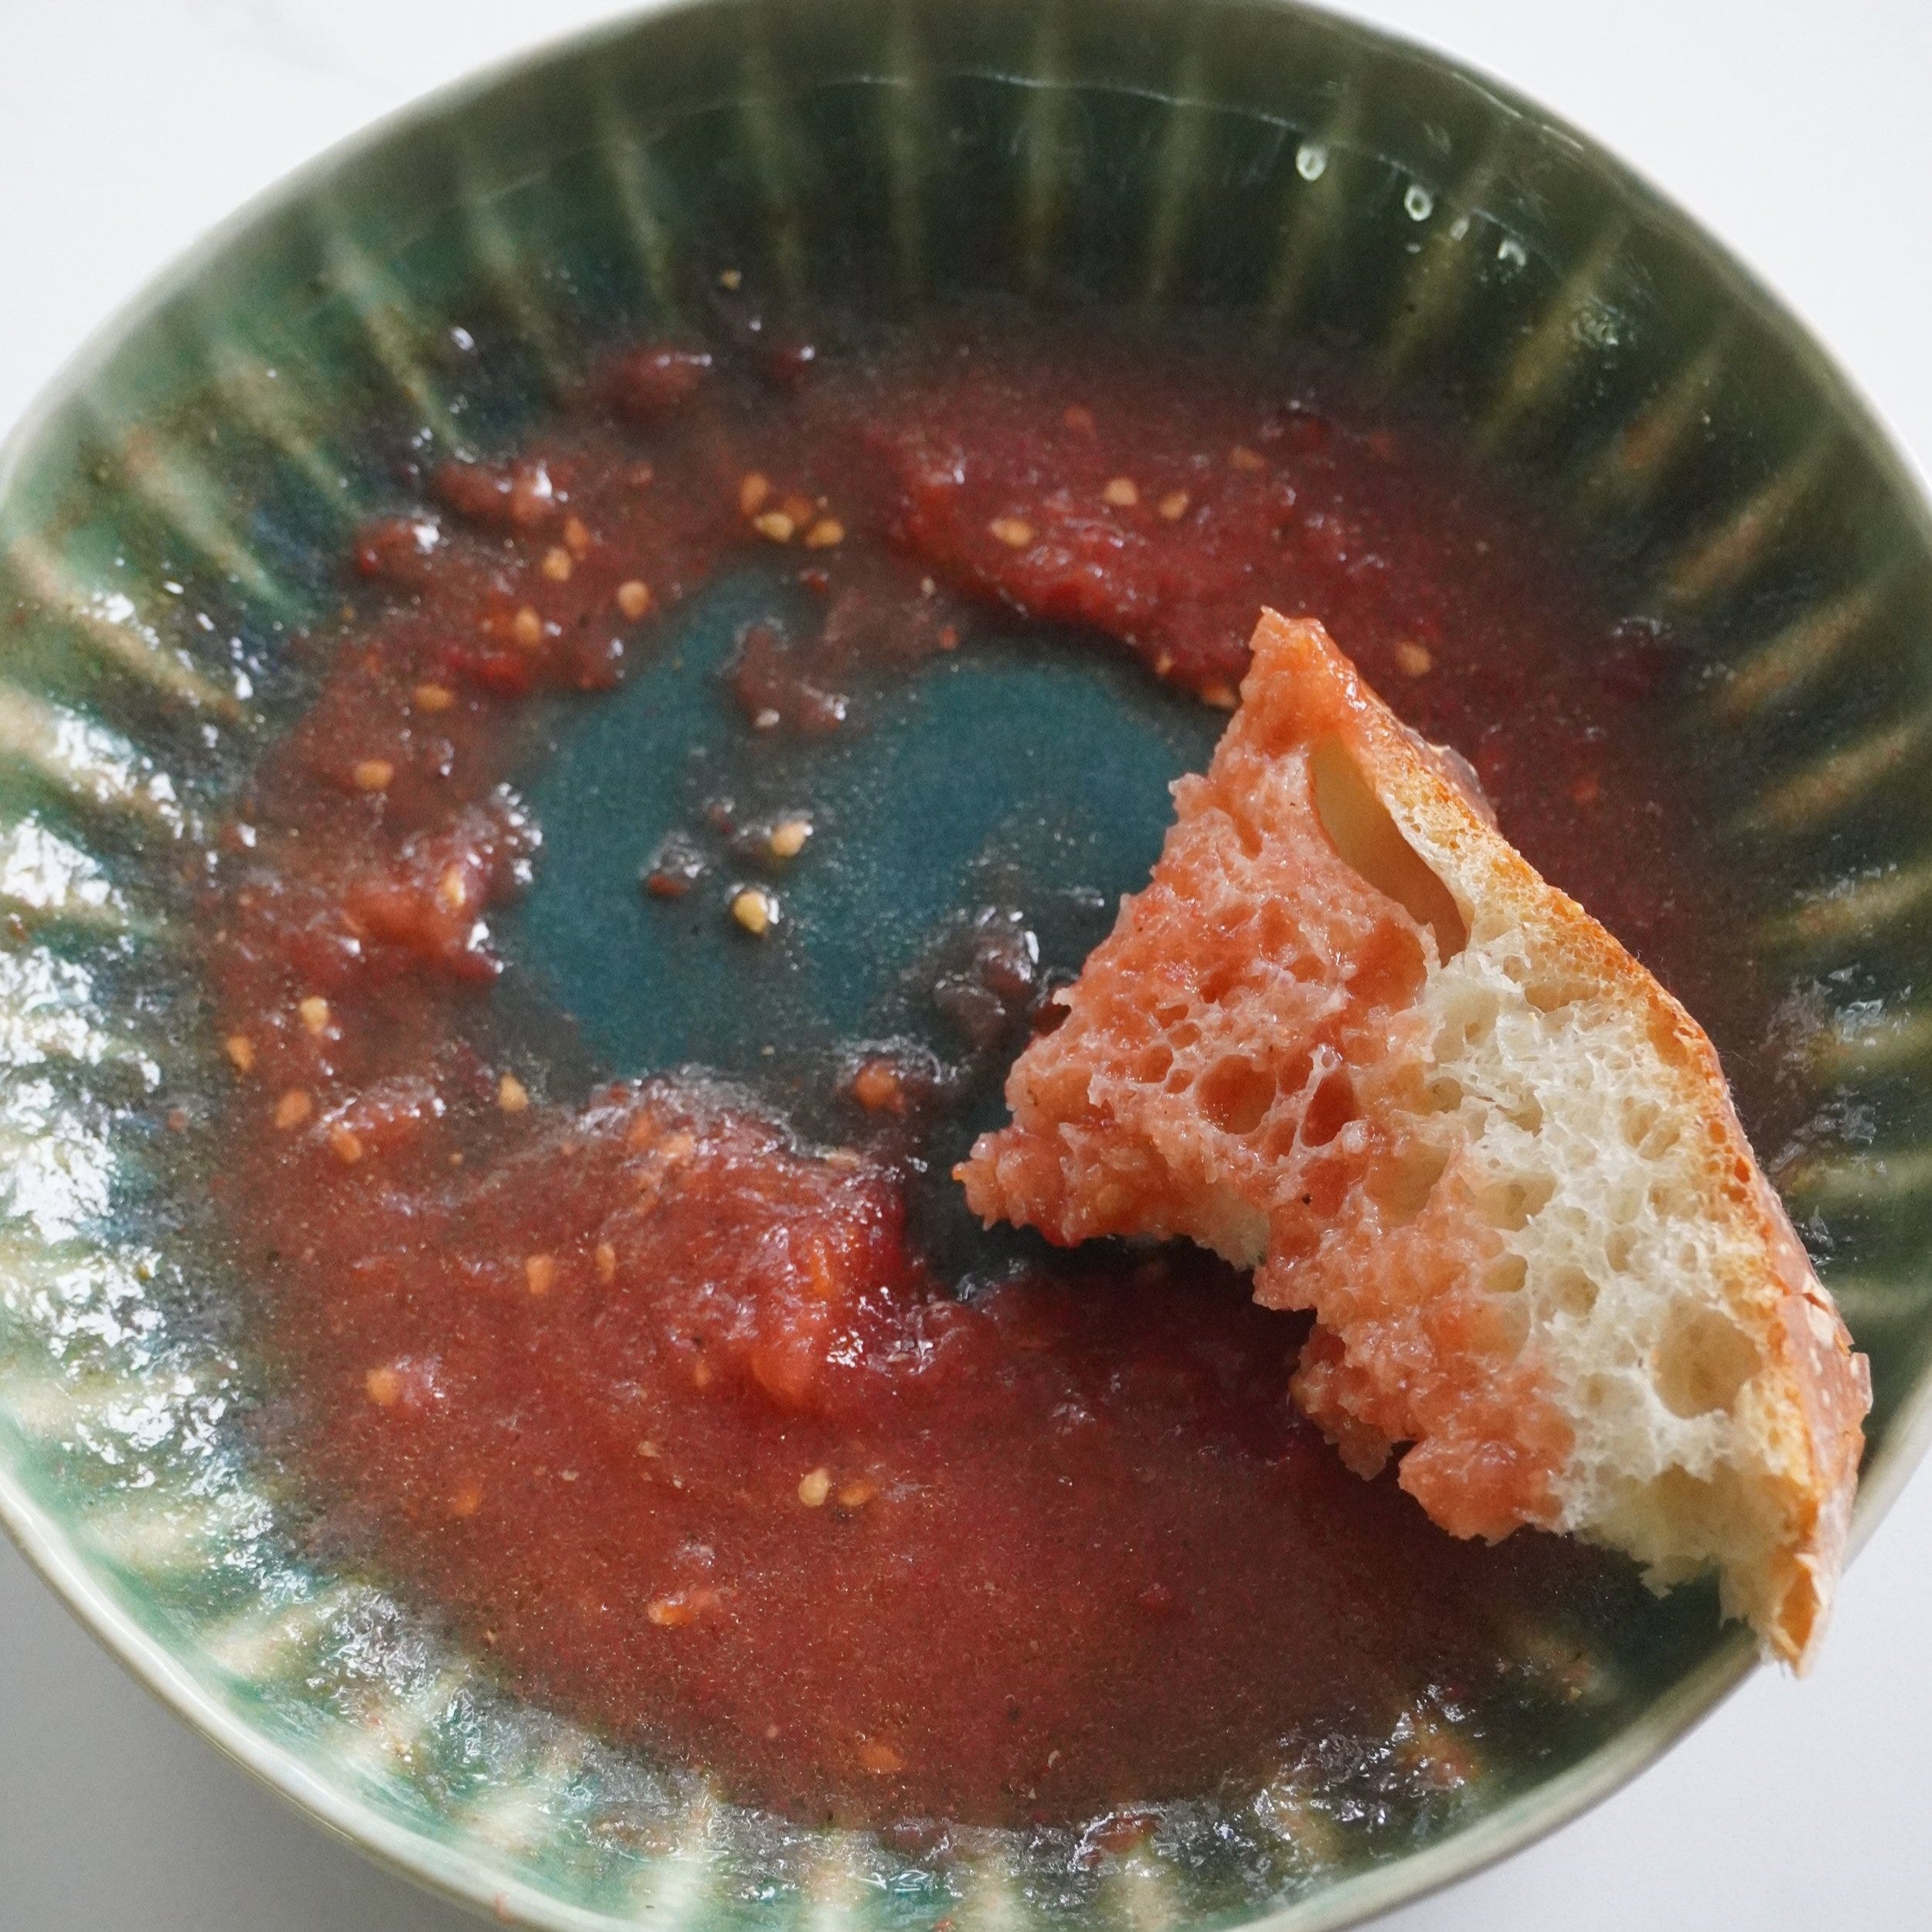
Using a cheese grater, shred the tomato over a bowl all the way down till you cant no more ( watch ya fingers ). Pour over the olive oil and season with salt and pepper and that’s it - now to enjoy your well deserved bread !
If you make it, please tag me on Pinterest or Instagram so I can see! It’s my favorite thing to scroll through stories and see what you all are making.
And of course feel free to leave any questions, comments or reviews! This is the best place to reach me, and I’d love to hear from you <3